close

Guides

A Lily Pond in 21 Steps

1- The owner of this property wanted a lily pond as the focal point for a new garden. The site was already level and had been planted the previous year.

2- The existing plants were carefully transplanted or put into pots. The best time to build if you have to move plants is early spring, as this was, when plants are at their most resiliant.

3- The bark mulch on the site was raked off and set aside, and then the ground was raked until it was flat and free of stones and debris.

4- The shape of the pond was outlined using a length of hose. Try to be creative, and work with the natural features of the land.

5- The pond was excavated using a shovel and a wheelbarrow. We made it 24 inches deep. Larger ponds should have an area that is at least 30-36 inches deep.

6- Note that there are no right angles--the edge gently slopes to the pond bottom. Achieving a gentle slope and the right depth takes some fiddling. Make sure there are no sharp stones on the bottom when you're done.

7- Before you lay down any liner, prepare the soil immediately around the pond, this way you won't risk tearing the liner or getting too much dirt in the water. Here we added a few tons of manure to the soil.

8- Once your soil is properly mixed and ameliorated, pack the soil by tamping it down with your feet and a shovel, then rake the site to make sure there are no loose stones.

9- It may seem counter-intuitive to fill the pond before you're done, but it's not. Filling the pond allows the liner to settle into all the crevices of the excavation, and allows you to see exactly where the level is and where you will need to trim the liner.

10- When the pond is full, make the first trim. Be generous, leaving 18-24 inches of liner around the edge. This will give you room to correct any levelling problems and make other final adjustments.

11- When you're sure you've got the level right and you've really packed down the edges, make the final cut, leaving only 3-4 inches of liner this time.

12- Slowly work your way around the pond, tucking the liner under soil and stones as you go. Make sure to pack the soil well over the liner.

13- Once the edgework is completed, prepare the site for planting.

14- We always lay out the plants according to our plan, and then work our way around planting as we go.

15- This is what it looks like when the pond is done and everything is planted.

16- This log, which we found in an old swamp, marks the boundary of a bog area. The occasional large and interesting stone also makes an excellent accent.

17- This is your basic natural edge: gravel over liner, soil over gravel, then a little more gravel over the soil. In time, plants will take root in this muddy-gravelly area and the clay will settle, keeping the edge from eroding into the pond and clouding the water.

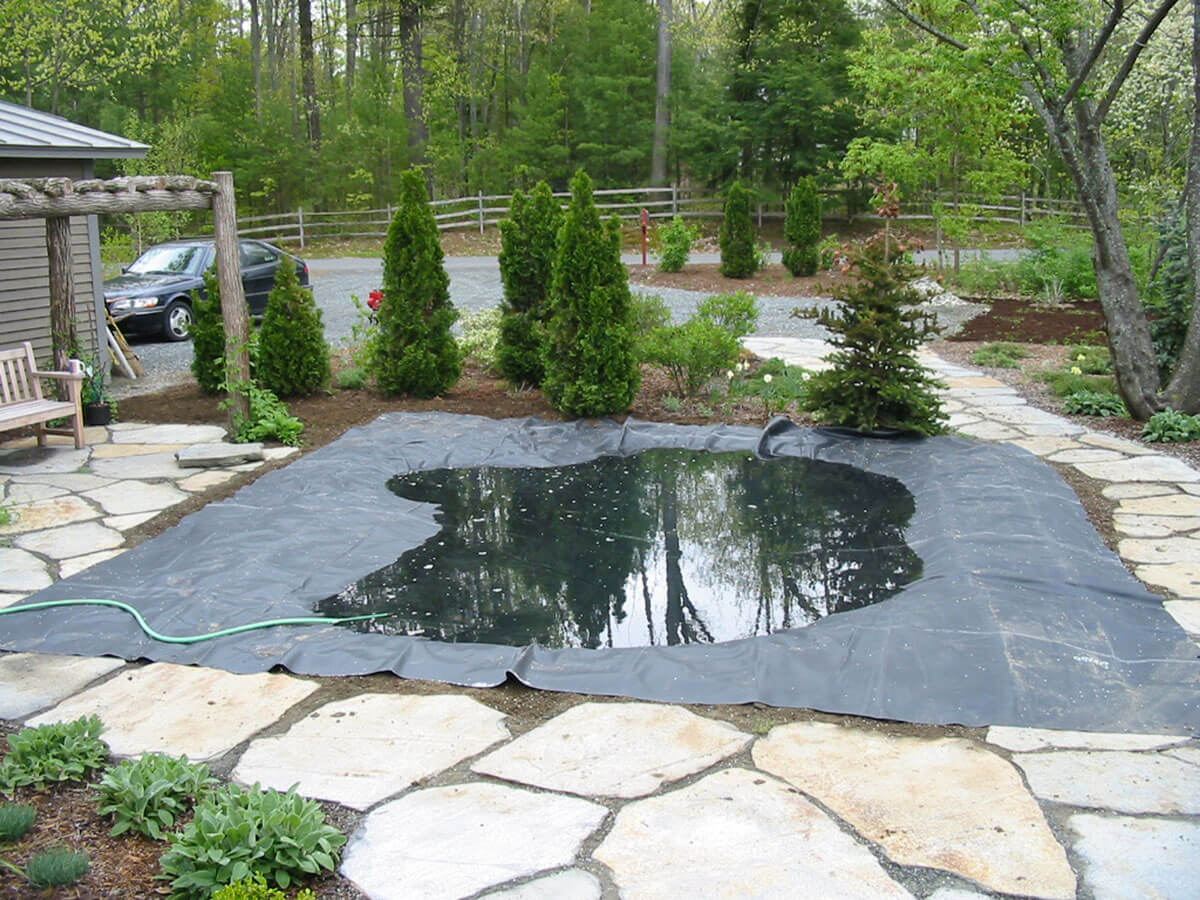
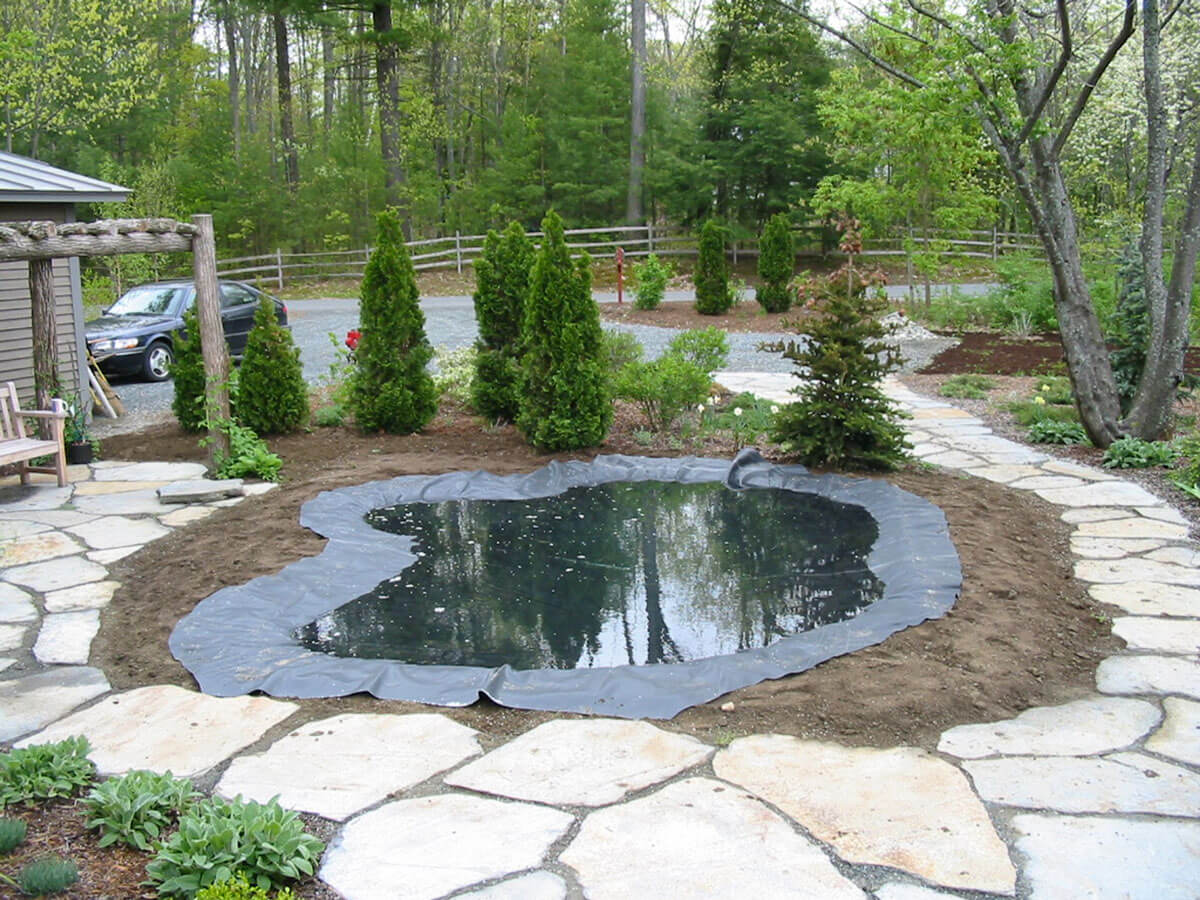
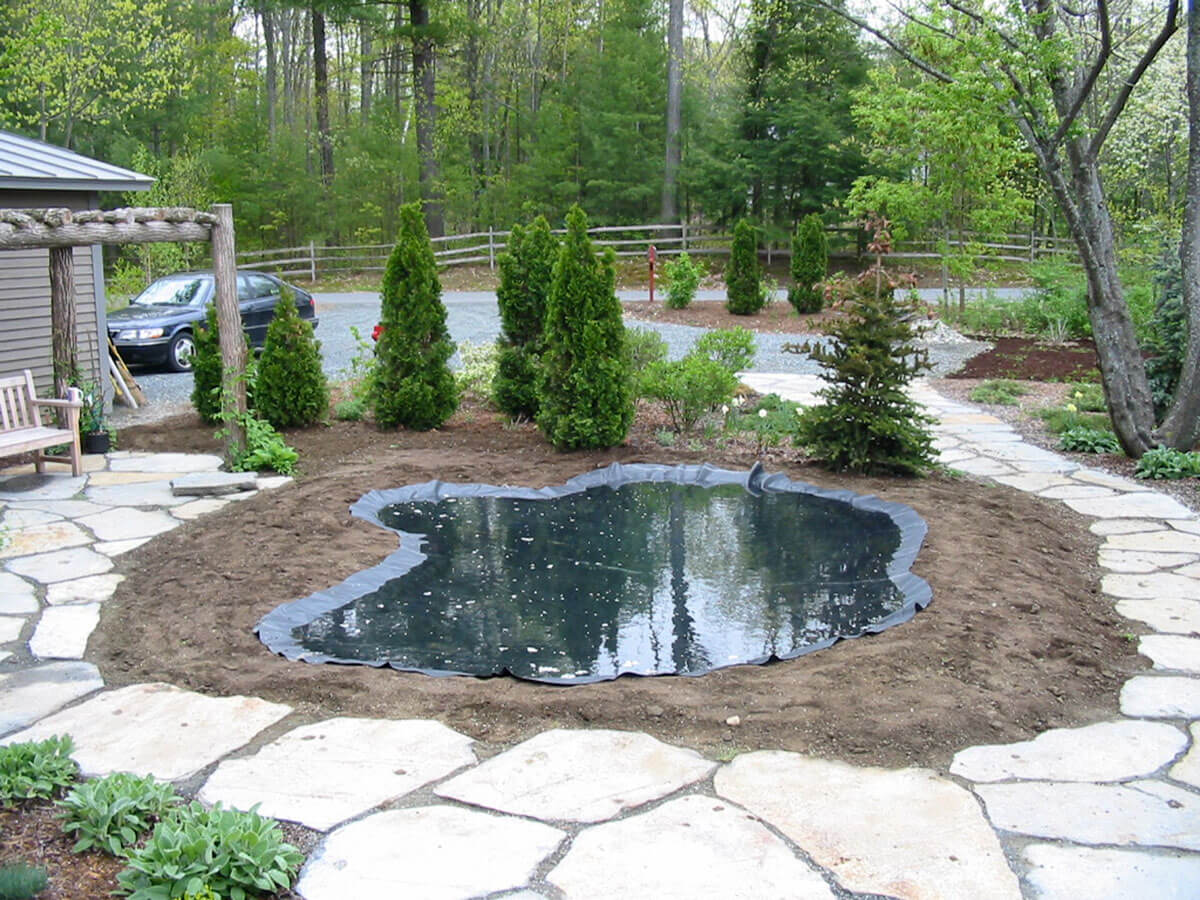
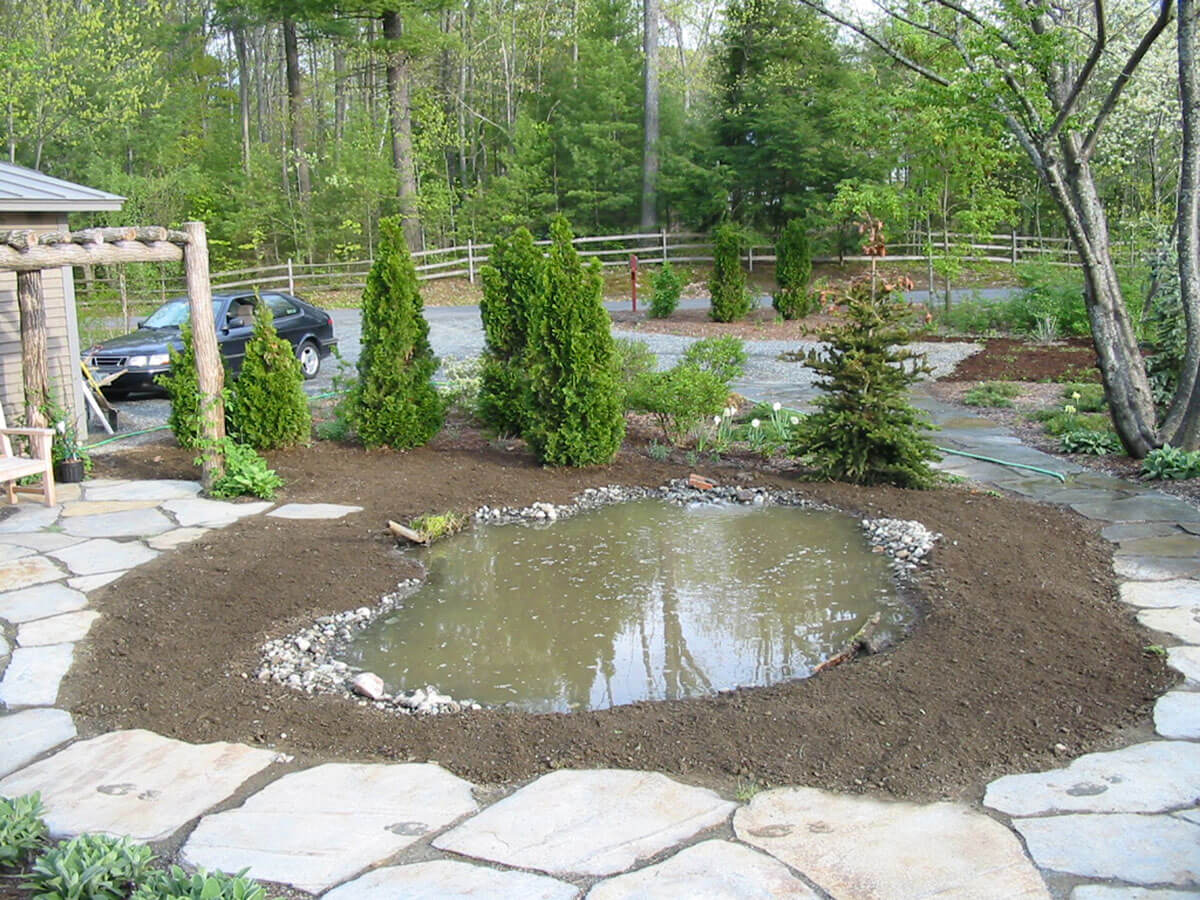
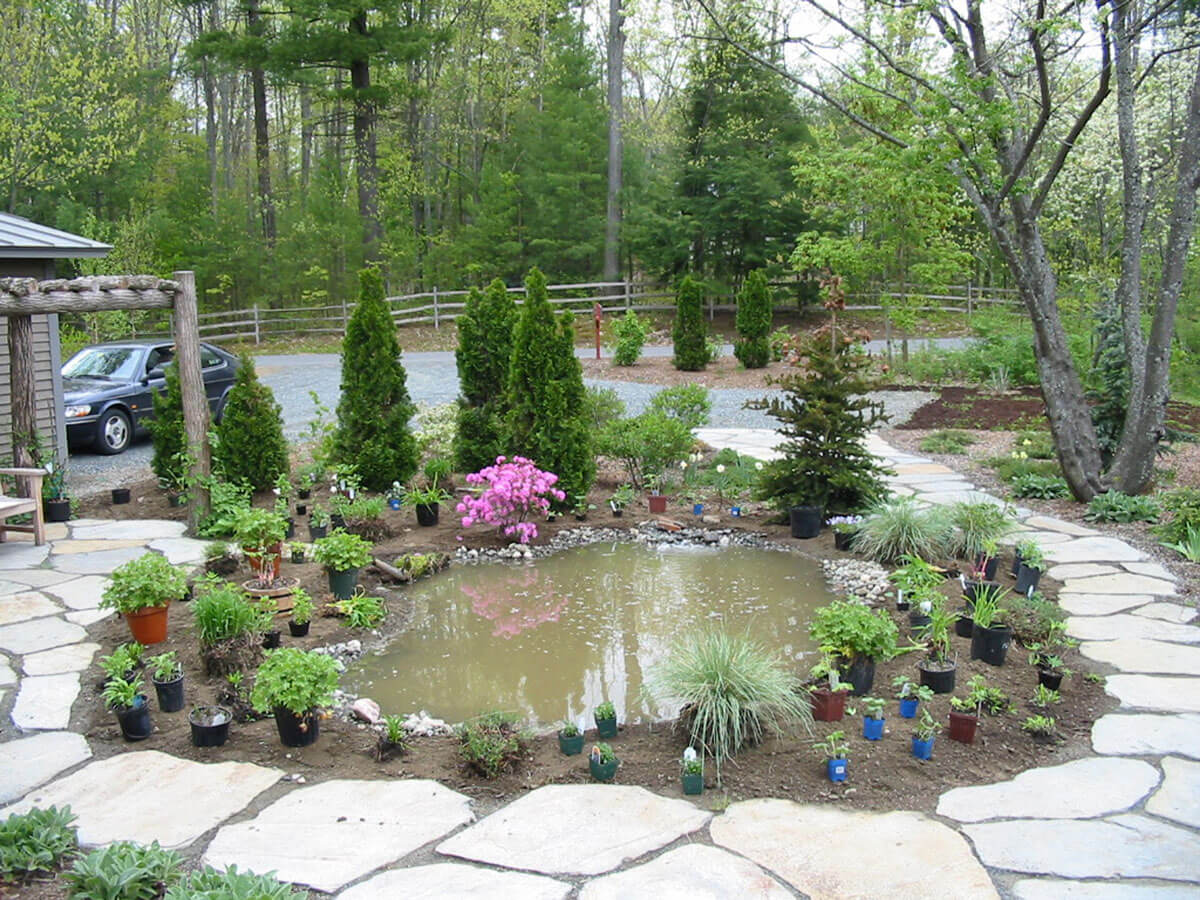
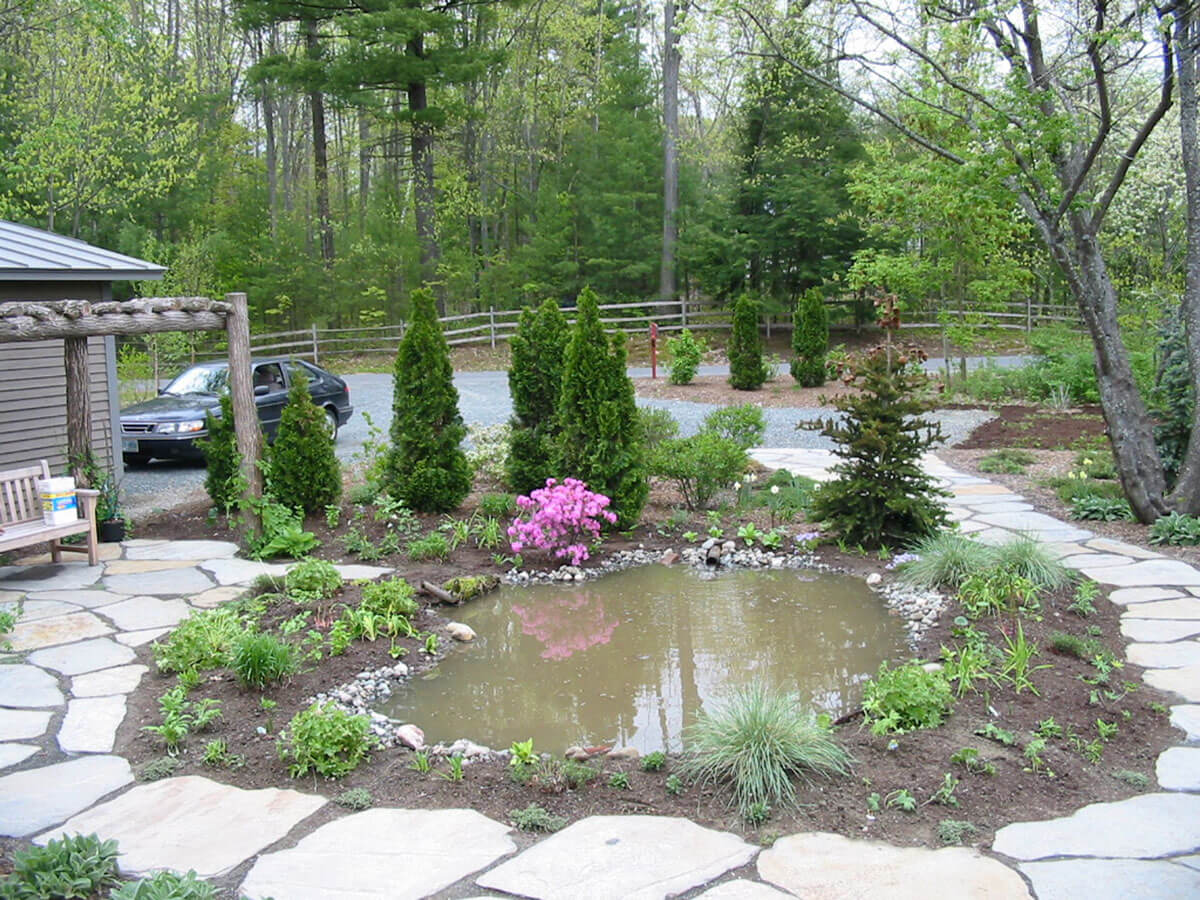
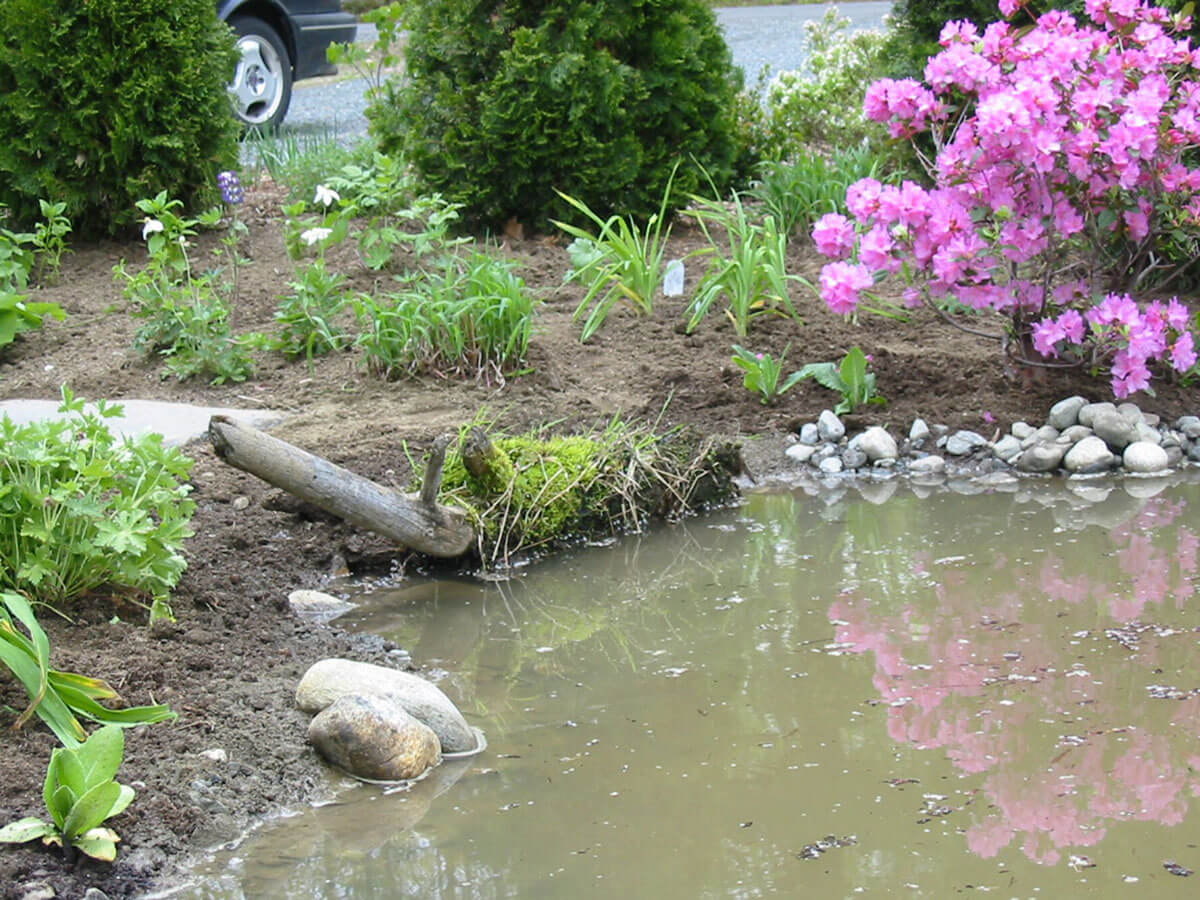
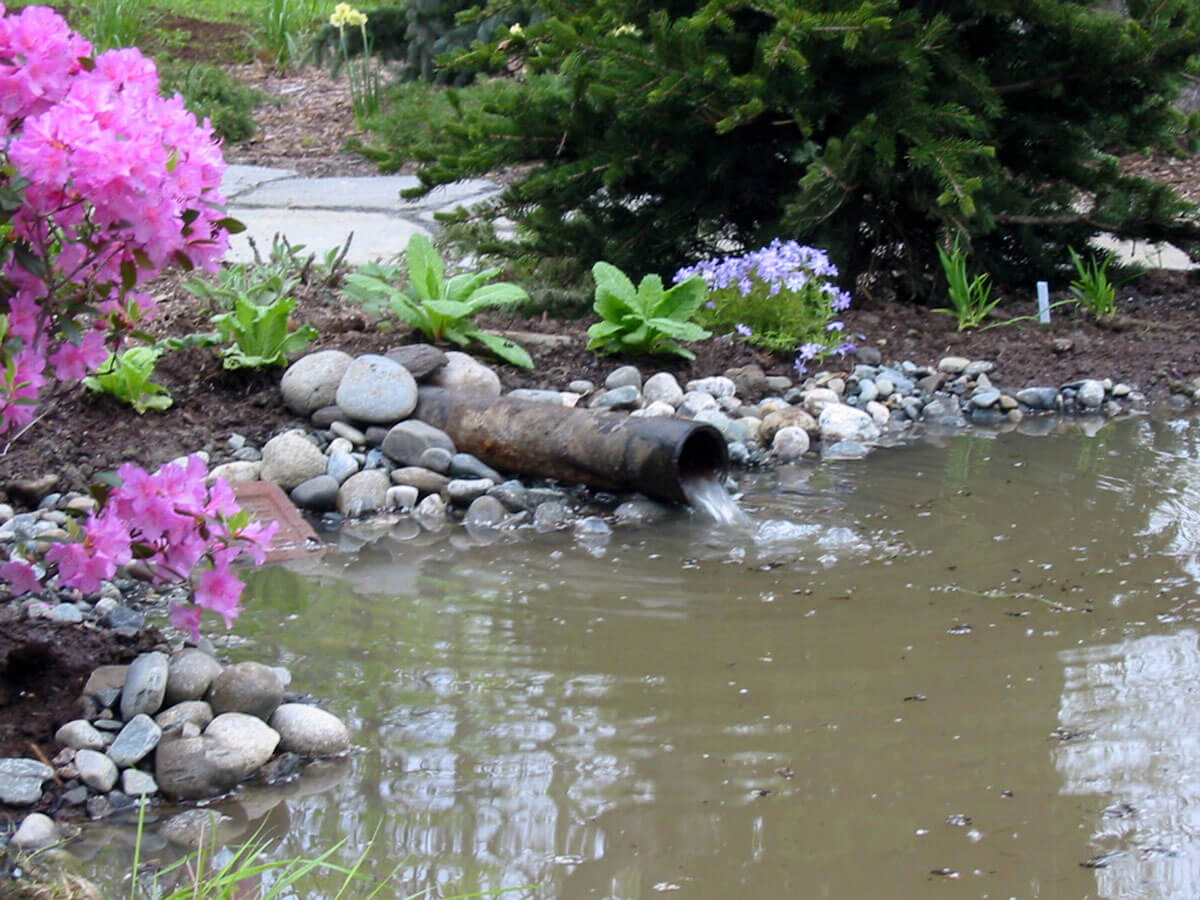
18- The next thing we did was add our circulation method. In this case it was a simple antique pipe that had been found at the the bottom of a woodland brook in New Hampshire. In general, it's best to build the pond first, and then to construct your circulation method afterwards. Not only is this simpler, but circulation methods may change, so you want the pond itself to be self-standing.

19- This is what the pond looked like 12 weeks after planting.

20- In order to have a striking water lily display and an ecologically balanced pond, we planted three each of two water lily varieties.

21- In order to create this pond we used the following materials :

- An 5m x 5m EPDM liner (estimated price 200 euros)
- A submersible pump (estimated price 170 euros)
- Six hardy water-lilies from Latour-Marliac (estimated price 95 euros)